Computer Tips: How Can You Get A Better Internet Performance?

a laptop computer sitting on top of a wooden table

If you are running a small business that does not have a great internet connection, you probably shake your head every day at how long it takes for a website’s page to load. No one likes to wait a significant amount of time for any type of web page to load. Regardless of the speed you have provisioned for by your ISP (Internet Service Provider), there is a chance you can do a variety of things to achieve better internet performance. You may be surprised at how a few small changes can give you a faster internet connection.

Better Internet Performance

Get Rid Of Malware And Viruses

It is very important that you make sure your computer is free of any viruses or malware. One of the reasons many computers are slow when it comes to internet performance and system performance is malware.

Test Different Browsers

Some people prefer one browser over the other because some browsers load websites faster than others. You may be surprised at how using a different browser can make a difference in how long it takes for a website to load.

Check Your Router

Is your router capable of handling the highest speeds that your Internet Service Provider offers with your Internet plan? There are some old routers that were not built to handle many of the download speeds. This is because the technology in the old routers is not up-to-date. It is important to keep your router’s firmware updated so you will not have any issues with your internet connection.

Clear Your Cache

How often do you clear your browser’s cache? If you have files that are corrupted in your browser cache, you can experience a variety of problems, including slow performance.

You should not have to deal with a slow internet experience, especially since technology is constantly being improved. Contact us today for additional computer and internet tips.

Computer Tip of the Day: How to Update Drivers

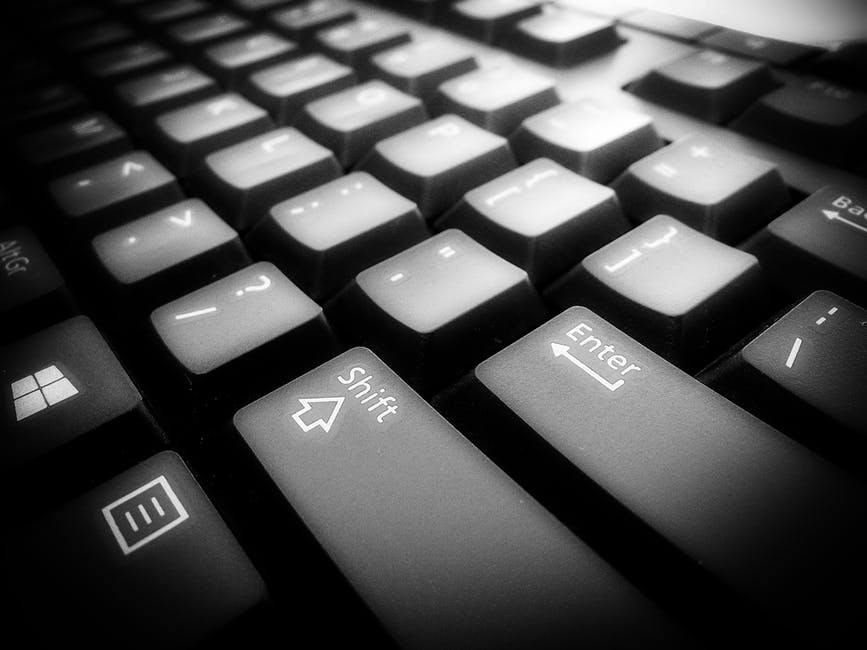
a black and white photo of a computer keyboard

Has your Windows computer ever restarted itself due to an error? As Windows updates continuously change your system, incompatible drivers are a primary source of blue screen errors. There are many ways to update drivers, some of which are better than others.

Update Drivers

What not to do: Software to update all of your drivers

While many sites advertise software that automatically updates your drivers, usually this quick-fix software does not work as advertised. In fact, it often comes with malware. If you cannot fix your drivers through other methods described below, a better option is to contact someone for support with the process. However, there are many ways you can work on updating drivers yourself.

Device Manager

A built-in program in Windows lets you see all the hardware in and attached to your computer. From there, you can see the driver for each device. To open Device Manager in Windows 10, press Windows-X and choose it from the menu that appears. If you have determined what driver is causing the crash, you can check if Windows can find an update for it. Unfortunately, this often does not work, as Windows does not have a detailed database of all the latest drivers due to how frequently some companies update drivers.

Check the manufacturer’s website

Most computer manufacturers have a webpage where you can download drivers for your computer. To find this page, search for the manufacturer’s name along with your machine’s model and the word “drivers.” Another option is to go straight to the manufacturer’s website and navigate to the driver page from the general help section. Sometimes, you can find updated drivers on this page. However, for certain devices in your computer, such as video cards and network adapters, the manufacturer might not release the latest version in time to fix your problem.

Get drivers from the maker of the component

Most computers consist of components made by many companies. For example, you could have an Intel network adapter and a NVIDIA display adapter. Going to the company’s website and downloading the latest driver or a tool to keep the driver updated is an effective way to make sure your drivers stay up to date.

Updating your drivers can fix many problems with crashing in Windows. It may take a few tries to find the right way to update them, but once you do, the benefits are significant. For more useful tips on computers, please contact us.

Computer Tip of the Day – How to Do a Factory Reset on Windows

a woman sitting at a table using a laptop computer

Knowing how to reset your Windows laptop or desktop computer comes in handy in many situations. Whether you want to give away or sell your computer, it has a virus, it is running slow or whatever your reason is, resetting your Windows is a great way to start from scratch. Here are a few ways to perform a factory reset on your Windows 7, 8, or 10 computer.

Factory Reset

Use a Recovery Disk

Many computers will come with a recovery disk. This disk lets you wipe your computer clean and install Windows again. Recovery disks usually come in a CD or DVD format. Just put the disk in and follow the instructions.

Restore With a Recovery Partition

Many computers will come with a recovery partition that you can use to restore your computer. You’ll need to press a combination of keys while booting up your computer (there is a short time opportunity for this). Following are the key combinations to press. Acer: Alt + F10; Asus: F9; Dell: F8; HP and Lenovo: F11. Follow the instructions on the screen to restore your PC. Not all computers have a recovery partition.

Do a Factory Reset On Windows 8 or 10

Windows 8 and 10 let you restore your computer directly from the settings. On Windows 8, go to Settings from the menu bar on the right and then to Change PC Settings. Click on Update and Recovery, then on Recovery, and under Remove everything and reinstall Windows, click on Get Started. On Windows 10, go to Settings, Recover, Reset This PC, and Get Started.

For technical help with your PC, just contact us.

Computer Tip of the Day: How to Take a Screenshot On Windows 10

PowerPoint

Taking a screenshot is a great way to show people what’s on your computer screen, whether you need technical help with an issue, want to show a friend something interesting, or are trying to create a tutorial. Here is how to take a screenshot on Windows 10.

Screenshot On Windows 10

How to Capture the Entire Screen

To capture the entire screen, simply click the Print Screen button on your keyboard (which is often labeled PrtScn). A screenshot will be taken, but instead of being automatically saved, it will be copied to your clipboard. To edit and save your screenshot, open Microsoft Paint and paste your screenshot into the editing section. Alternatively, if you want to have your screenshot automatically saved to the Screenshots folder in your Pictures section, click Windows Key and PrtScn at the same time.

How to Capture Part of the Screen

If you only want to take a partial shot, use the Windows snipping tool. The snipping tool will allow you to crop your screenshot. If you want to save it, you’re going to have to manually save it from inside the tool.

How to Capture an Active Window

If you want to capture only the active window that you have open, click Alt + PrtScn. This will capture the entire window and save it to your clipboard, but it won’t be saved automatically. Then, you’re going to have to open Microsoft Paint, paste it in, and save it from there.

For more computer tips and technical support for your computer or laptop, contact us!

Computer Tip of the Day: How to Reposition Computer Task Bar

a person typing on a laptop with their hands

Many people keep their computer icons on the main screen. Word, Excel, your browser, like Explorer, Chrome, or Firefox — there they are, ready for access. However, to make the icons more convenient to access when windows are open, many people reposition the computer task bar at the bottom or side of the screen so that can be seen no matter how much stuff you’re working on.

Reposition Computer Task Bar

You know how frustrating it can be when these icons rearrange themselves, seemingly spontaneously. If the toolbar is at the bottom of your screen, it suddenly moves to the left. If it was on the left, it may suddenly appear at the bottom.

Because we are creatures of habit, this can be very frustrating and impact productivity. Fortunately, fixing it is very easy.

To reposition the computer taskbar, simply right-click the blank space on the taskbar. When the menu opens, select “properties.”

Look to see if the taskbar is locked. If so, a checkmark will appear next to “locked”. If so, unlock it by clicking on the check mark.

See if the taskbar is locked, with a checkmark next to the listing if so unlock it, and click the “apply” button.

After this, simply select the placement you do want. Then click the “apply” button again. You can lock the taskbar after this for greater security.

If you ever want to move the icons around on the taskbar, you’ll need to unlock the taskbar again. After that, icon movement is a simple drag-and-drop procedure.

For more information, contact us.